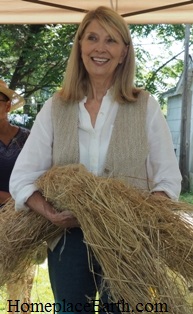
Cindy Conner in her homegrown, handspun, handwoven, naturally-colored cotton vest
Have you ever wondered if it would be possible to make your own clothes from what you could grow in your garden? Well, I have done that and would like to teach you how to go about it. I am talking about growing cotton and flax for linen in your garden, processing it for fiber, spinning it, and weaving it into fabric to sew into clothes. Or, if you prefer, you could knit or crochet what you spin. In order to pass on what I have learned, I am giving a workshop on June 8, 2019 at my place, Sunfield Farm, near Ashland, VA. It would be just for that day from 9am-4pm.
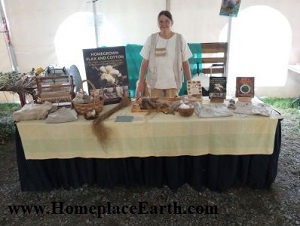
The day will start with a garden tour. That is a big deal because I don’t normally open my garden to the public. You will see cotton and flax growing there and the flax will be nearing harvest. You will also see the other crops I have growing, including grains nearing harvest and the compost piles that are in the rotation on the garden beds. I will explain the growing conditions for cotton and flax.
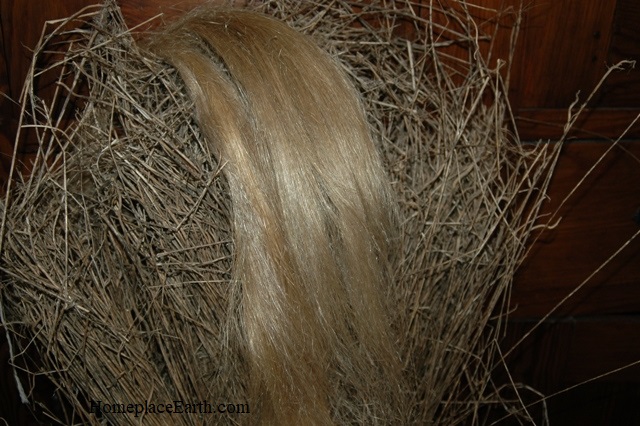
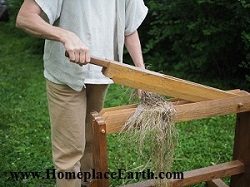
flax straw and the line flax it becomes
Everyone will receive a pound of retted flax and have the chance to work with it on flax brakes, scutching boards, and hackles. You will produce the line flax that you will learn to spin in the afternoon. You will also collect the tow from your flax and learn how to make it into something useful.
There will be an hour lunch break at noon. Iced tea and water will be provided, but you will have to bring your own lunch and snacks. I am located only a few miles from the small town of Ashland. If you don’t pack a lunch you could get something to eat there. Of course, if you don’t need the whole hour for lunch, you are welcome to go back to working with the flax after you eat.
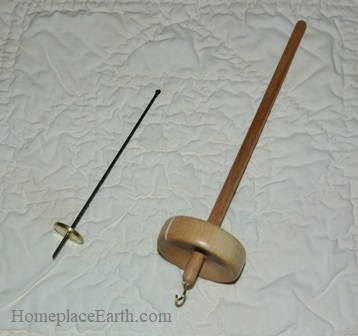
spindles you will receive in the workshop
The afternoon will be filled with spinning and learning what to do with the spun yarn. You will receive raw cotton and a metal tahkli spindle to spin it with. Spinning on a tahkli is not something you learn quickly. It will take a lot of practice to get proficient at it. However, the lesson and practice you receive that day will get you started. You will also receive a wooden spindle to spin the flax you processed yourself. Once flax is spun, it is called linen. In the future you can use that spindle to spin tow and to ply the cotton that you spin on the tahkli.
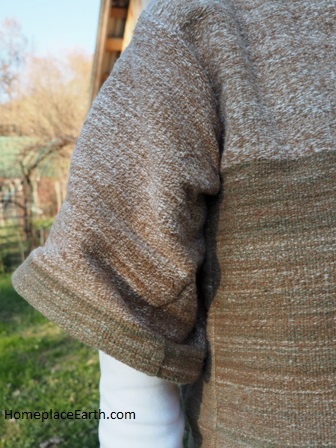
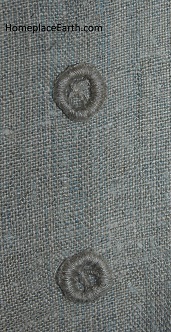
closeup of Cindy’s homegrown cotton shirt
There is much more to learn besides spinning before you can weave and sew and you will be exposed to all of that in the afternoon. I will be showing the garments I have made from my homegrown, handspun, handwoven fiber. You will also witness fiber being scoured, learn about shrinkage during scouring and weaving, see the looms I use, and learn about the equipment I have acquired and how much of it is actually necessary.
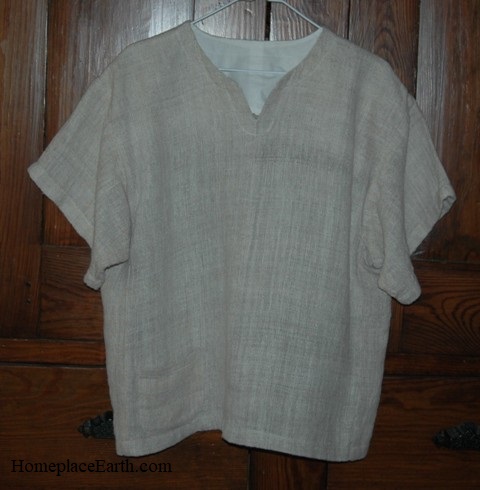
Cindy’s shirt with white cotton warp and linen weft
That is the tentative schedule for the day. Of course, if it rains, the schedule of events will change, but we will get it all in. Canopies will be set up outside for the flax processing if rain is threatening. The garden tour can proceed during a drizzle, so dress appropriately. Spinning lessons will take place inside or out, but the show-and-tell for equipment will be inside the house, which will be open all day for participants to use the bathroom when the need arises.
The class is limited to 15 students. The cost is $115 for the day, including the spindles, retted flax, and raw cotton. To hold your spot, I will need a check from you for the full amount. If you prefer to pay in two payments, the cost will be $120 with $60 due as a deposit to hold your spot and the remaining $60 to be paid by May 8, 2019. Email me (Cindy) at cconner@HomeplaceEarth.com to let me know you are sending a check and I will tentatively put you on the list and give you my mailing address.
If you are coming from a distance, the charming town of Ashland, VA offers services you may need. There are a variety of hotels and restaurants near Interstate 95 and Rt. 54 at the edge of town. The historic district includes restaurants and the train station where Amtrak stops daily. If you should choose to arrive by Amtrak you could stay at the Henry Clay Inn and we could arrange to pick you up for the class. I have no connections with anyone there, but mention it because it would be convenient if arriving by train.
I am giving this workshop because of the interest that has been shown in my work growing cotton and flax/linen from seed to garment and I want more people to join in the fun. Unless you have acquired some of these skills on your own already, you won’t be able to go home and do all of this right away. However, you will be exposed to the process and learn what equipment you may or may not need. Although you may eventually move up to using a spinning wheel, you will have the spindles to get you started. I spun all the fiber for my first garment, a homegrown cotton vest, on a tahkli spindle. For a preview of what you will experience at this workshop, check out my blog posts about cotton and flax/linen.
I am looking forward to a fun-filled day and hope you will join me. Since the class is limited to 15 people, don’t procrastinate. Once it is filled (everyone’s check clears) I can only put you on a waiting list in case a spot opens up.
See you in June!


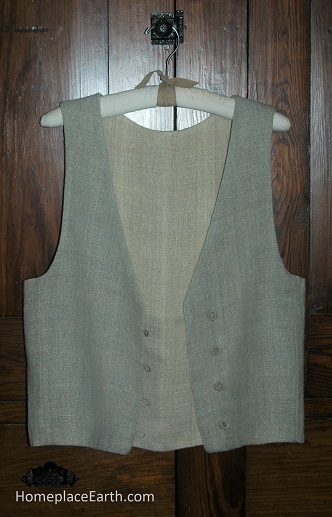
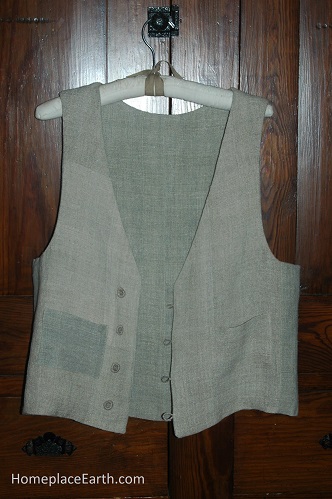
 The only thing in this vest that I didn’t grow is the cotton thread that I used to sew the fabric pieces together.
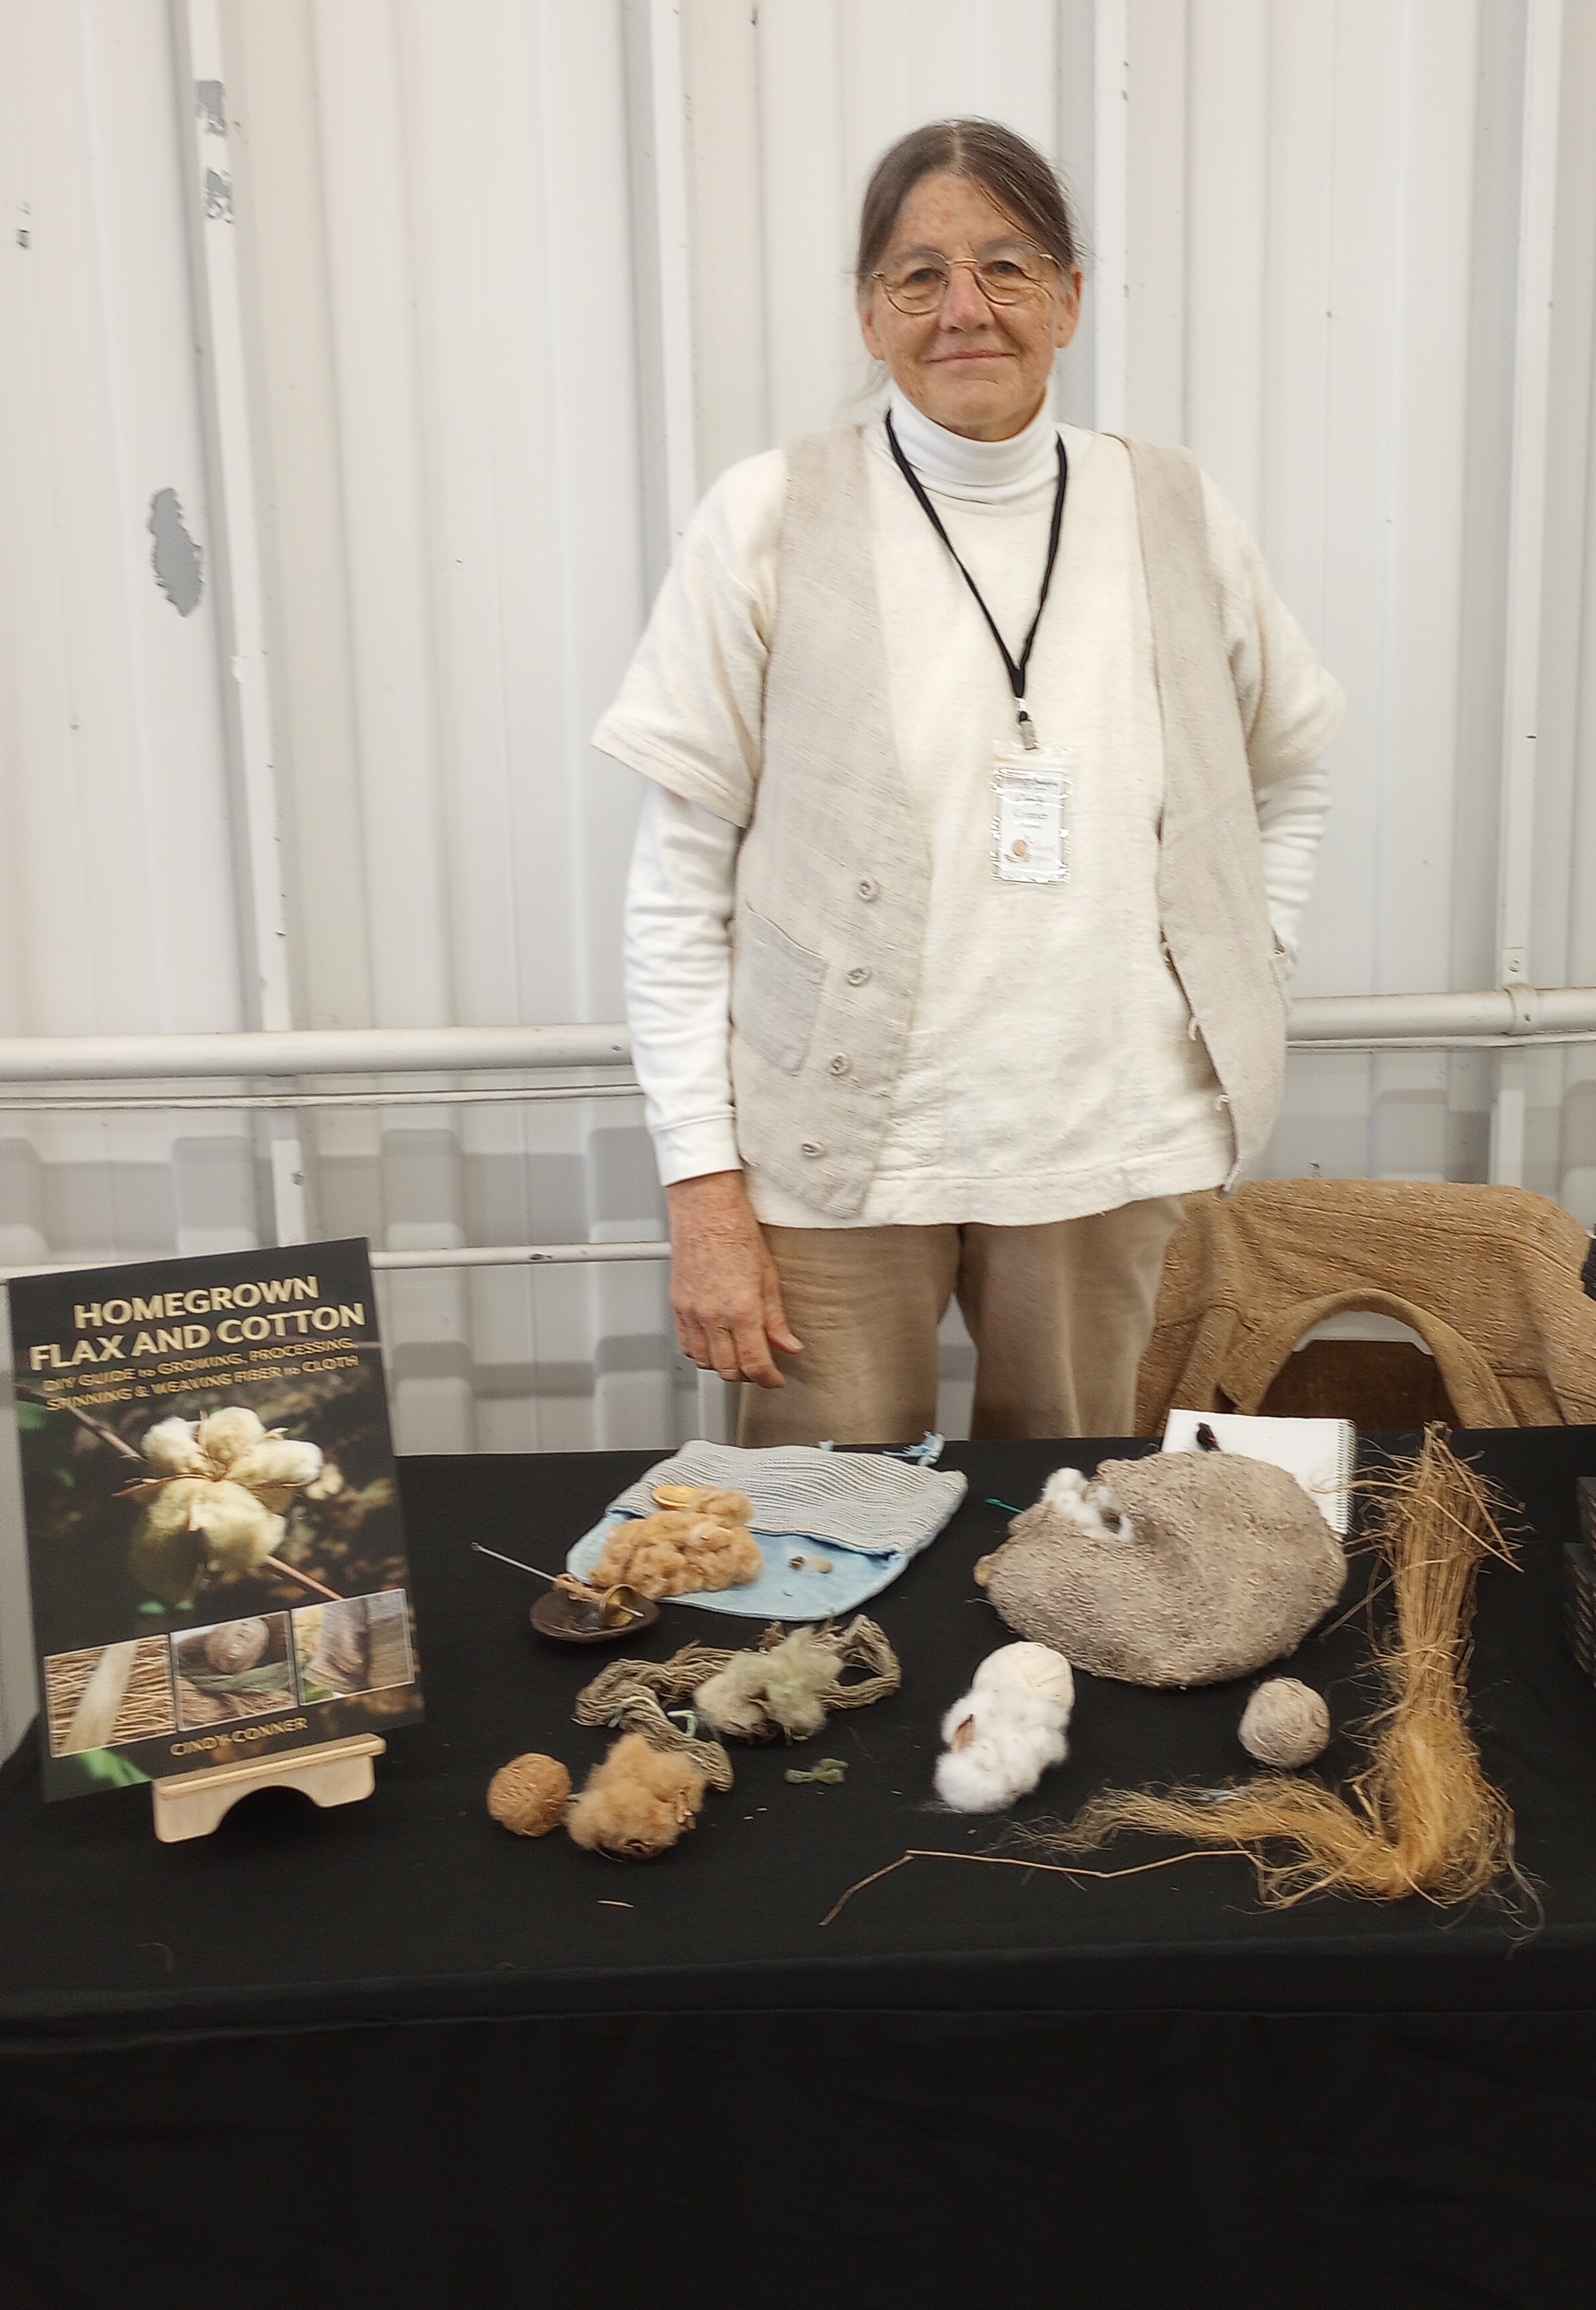
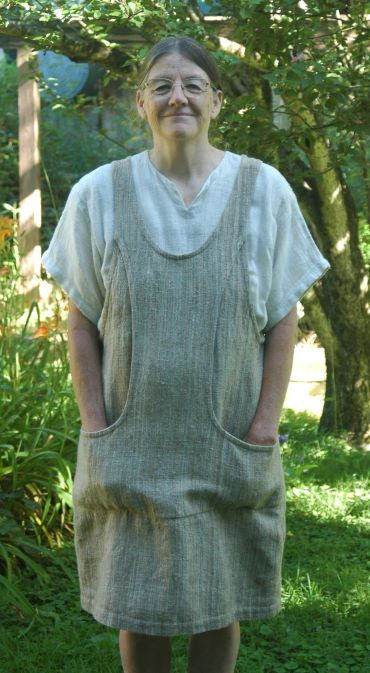 You haven’t heard from me for awhile, but not to worry. I am alive and well and have been busy working on fiber projects. In 2019 I made a dress from my homegrown cotton and flax/linen that won Best in Show at the Fall Fiber Festival at Montpelier Station, Virginia. The photo shows me in that dress and the shirt made from homegrown cotton and flax/linen. I have always said that we are living in exciting times. I think I will change that to we are living in crazy times. I could never have anticipated the conditions we are living in now, and that is why I am writing.
 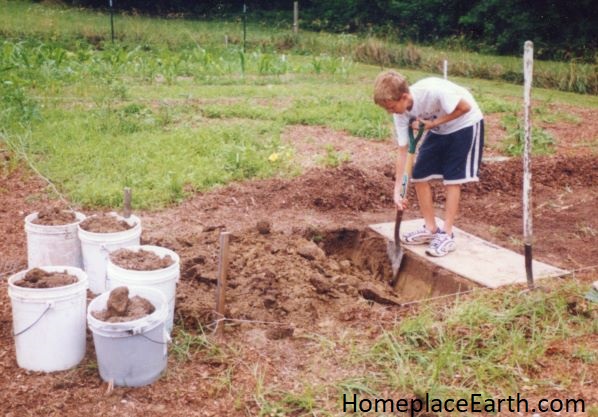 With so many people at home and spring springing, it would be natural to think of starting a garden. It is a big endeavor to undertake and a lot to learn. Learning is the key here. Children are home and, since you need to be the teacher, you might as well teach them how to feed themselves. I would imagine all the subjects they need to keep sharp in will be covered while you and your children decide what you want to eat, what will grow in your area, how many seeds to order, how to lay out your garden, and the list goes on and on. I taught people how to plan a garden to feed themselves at our local community college for over a decade and know that it is a lot to process in a short time.
 Besides feeding ourselves, we also need to consider the soil and to grow cover crops to feed back to it. I produced the DVD Cover Crops and Compost Crops IN Your Garden to teach that part. As for the garden planning, I produced the DVD Develop a Sustainable Vegetable Garden
 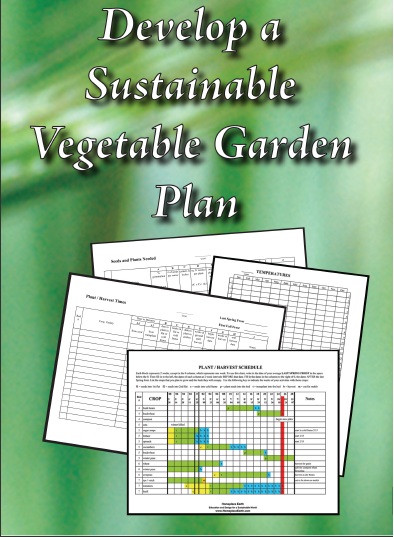 Plan. That video shows how to put together a notebook with your complete plan, thinking through all you need to do. It includes a CD with the planning sheets I developed for my college classes. I have also written the book Grow a Sustainable Diet that has information that you will be introduced to in the DVDs, plus more about planning your diet and considerations for planning your permaculture homestead.
  I made these videos and wrote the book so that people who couldn’t take my classes could have access to the material for their own education. Together you have the book, lectures, handouts (worksheets), and field trips. You see me in my garden and, in the garden planning video, you see seven other gardens and the gardeners who manage them. They range from a very small backyard garden to a half-acre market garden. These materials are part of the curriculum at the college, but you can use them to learn at home.